Introduction to Spooky Eyeball Brownies
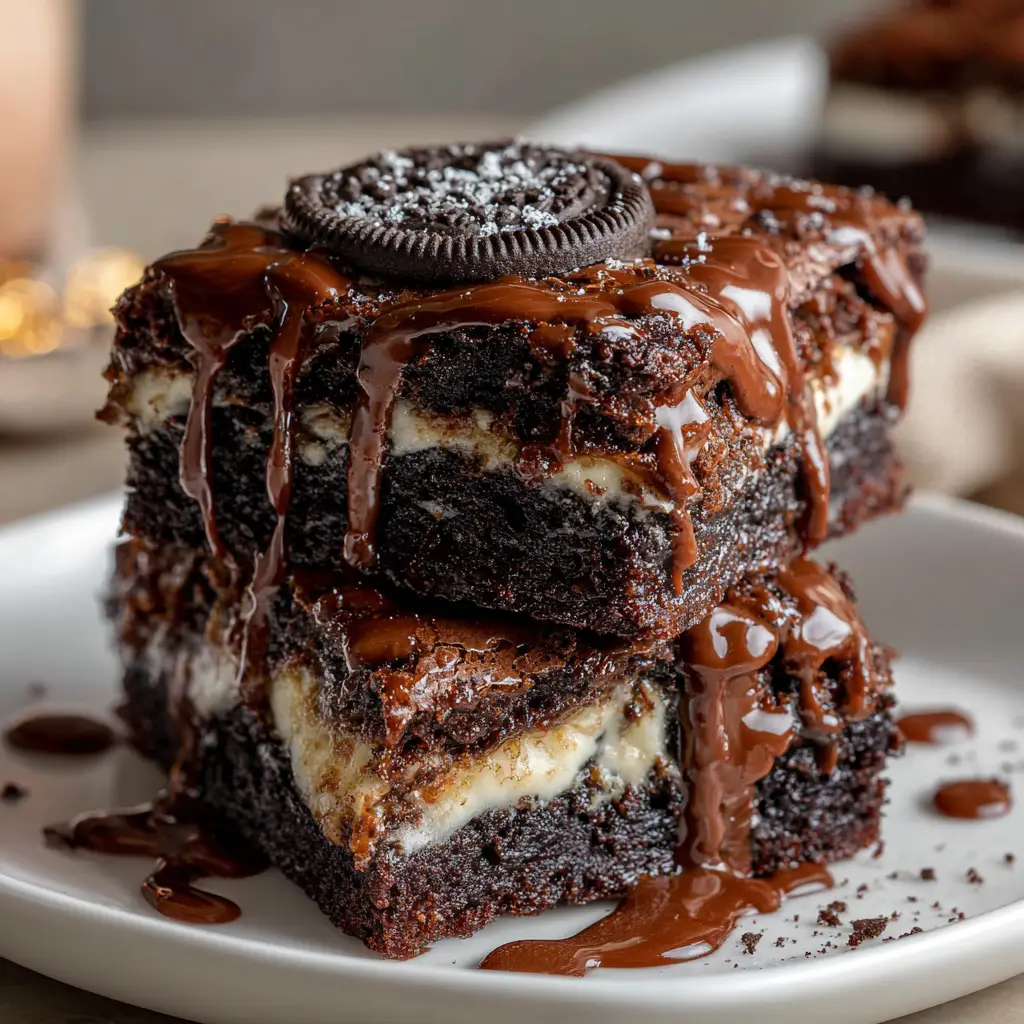
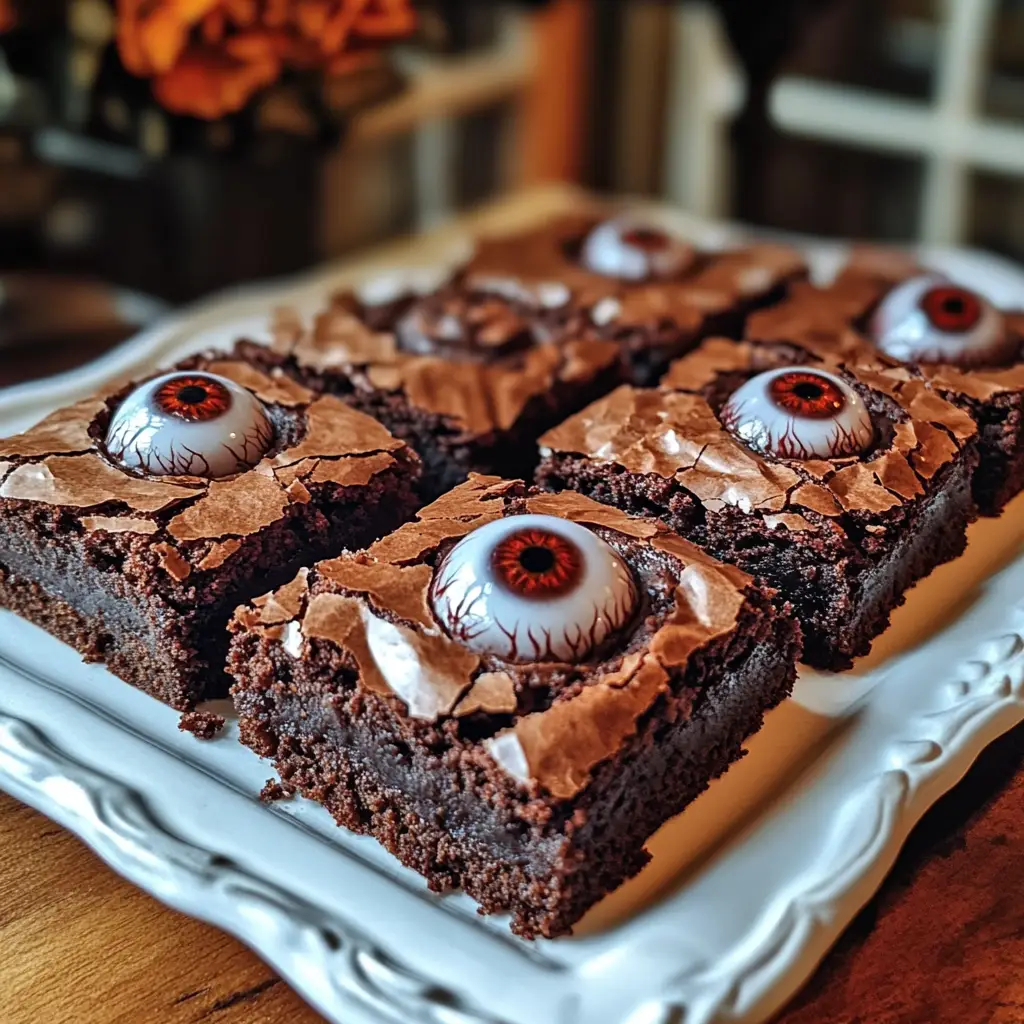
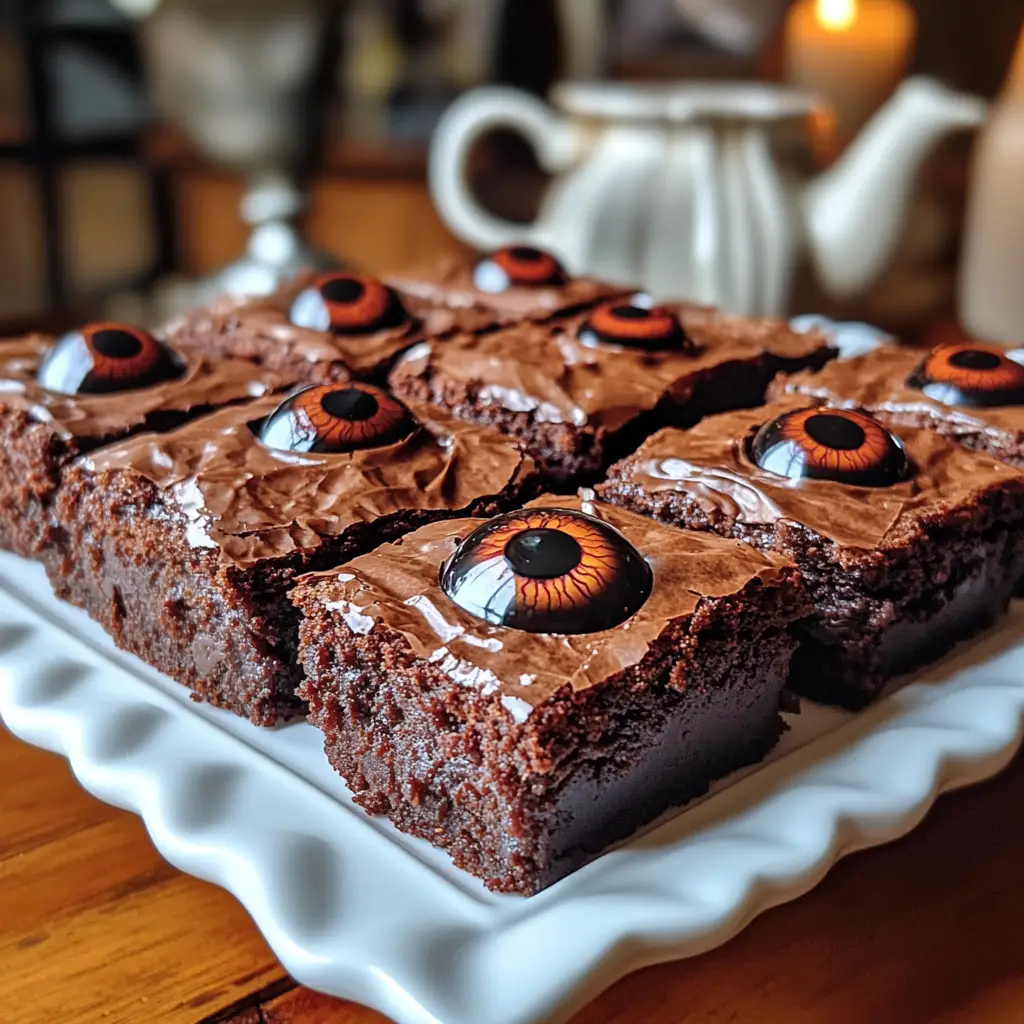
As the leaves turn and the air gets crisp, I can’t help but get excited about Halloween. One of my favorite treats to whip up during this season is Spooky Eyeball Brownies. They’re not just delicious; they’re a fun way to bring a little creepiness to your dessert table! Perfect for busy moms like us, these brownies are quick to make and sure to impress your family and friends. Plus, who can resist a gooey chocolate brownie topped with gummy eyeballs? Let’s dive into this delightful recipe that will thrill your guests!
Why You’ll Love This Spooky Eyeball Brownies
These Spooky Eyeball Brownies are a dream come true for busy moms and professionals. They come together in just 50 minutes, making them a quick solution for last-minute gatherings. The rich chocolate flavor paired with the playful eyeball decorations will have everyone raving. Plus, they’re a fantastic way to get your kids involved in the kitchen, creating memories while whipping up a spooky treat. What’s not to love?
Ingredients for Spooky Eyeball Brownies
Gathering the right ingredients is half the fun of baking! For these Spooky Eyeball Brownies, you’ll need a mix of pantry staples and a few fun additions to create that creepy effect.
- Unsalted butter: This is the base for your brownies, giving them that rich, fudgy texture.
- Granulated sugar: Sweetness is key! It helps create that perfect balance with the cocoa.
- Large eggs: Eggs provide structure and moisture, making your brownies delightfully chewy.
- Vanilla extract: A splash of vanilla adds depth to the chocolate flavor, making it even more irresistible.
- All-purpose flour: This is essential for binding the ingredients together and giving the brownies their structure.
- Cocoa powder: The star of the show! It gives the brownies their rich chocolate flavor. For a deeper taste, consider using dark cocoa powder.
- Salt: Just a pinch enhances the sweetness and balances the flavors.
- Baking powder: This helps the brownies rise slightly, giving them a nice texture.
- White chocolate chips: These add a sweet contrast to the dark chocolate and are perfect for melting into the batter.
- Red food coloring: This is for creating those spooky veins on top of your brownies. A little goes a long way!
- Chocolate syrup: Drizzle this on top for an extra touch of sweetness and a creepy look.
- Gummy eyeballs: The finishing touch! These fun candies make your brownies truly spooky and are sure to delight kids and adults alike.
For exact measurements, check the bottom of the article where you can find everything listed for easy printing. Happy baking!
How to Make Spooky Eyeball Brownies
Step 1: Preheat and Prepare
First things first, preheat your oven to 350°F (175°C). This ensures your brownies bake evenly. While the oven warms up, grab a 9×13 inch baking pan and grease it well. You can use butter or cooking spray. This step is crucial to prevent those delicious brownies from sticking. Trust me, you want every last crumb!
Step 2: Mix the Wet Ingredients
In a large bowl, melt the unsalted butter. I usually do this in the microwave for about 30 seconds. Once melted, stir in the granulated sugar until it’s well combined. Next, add the eggs one at a time, mixing thoroughly after each addition. Finally, stir in the vanilla extract. This mixture should be smooth and creamy, setting the stage for your rich brownies.
Step 3: Combine the Dry Ingredients
In another bowl, whisk together the all-purpose flour, cocoa powder, salt, and baking powder. This step is essential for evenly distributing the dry ingredients. Make sure there are no lumps in the cocoa powder. A smooth mixture will lead to a fudgy brownie texture. Plus, the aroma of cocoa will make your kitchen smell heavenly!
Step 4: Combine Wet and Dry Mixtures
Now, it’s time to bring it all together! Gradually add the dry ingredients to the wet mixture. Stir gently until just combined. Be careful not to overmix; a few flour streaks are okay. This will keep your brownies soft and chewy. The batter should be thick and luscious, ready for the next step!
Step 5: Add White Chocolate Chips
Fold in the white chocolate chips gently. This adds a delightful sweetness and a creamy texture to your brownies. The chips will melt slightly during baking, creating pockets of gooey goodness. It’s a little surprise in every bite!
Step 6: Bake the Brownies
Pour the brownie batter into your prepared baking pan, spreading it evenly. Bake in the preheated oven for 25-30 minutes. To check for doneness, insert a toothpick in the center. If it comes out clean or with a few moist crumbs, they’re ready! The edges should look set, while the center remains slightly soft.
Step 7: Cool and Decorate
Once baked, let the brownies cool completely in the pan. This is crucial for easy decorating. After cooling, use red food coloring to create spooky veins on top. Then, place gummy eyeballs on each brownie and drizzle with chocolate syrup. Your Spooky Eyeball Brownies are now ready to thrill your guests!
Tips for Success
- Make sure your butter is fully melted for a smooth batter.
- Don’t overmix the batter; it should be thick but not dry.
- Use a toothpick to check for doneness; a few moist crumbs are perfect.
- Let the brownies cool completely before decorating for best results.
- Get creative with decorations—different candies can add a fun twist!

Equipment Needed
- 9×13 inch baking pan: A standard size for brownies; you can also use an 8×8 inch pan for thicker brownies.
- Mixing bowls: Use a large bowl for wet ingredients and a medium bowl for dry ingredients.
- Whisk: A handy tool for mixing dry ingredients; a fork works in a pinch!
- Spatula: Perfect for folding in ingredients and spreading the batter evenly.
- Toothpick: Essential for checking if your brownies are done baking.
Variations
- Nutty Delight: Add chopped walnuts or pecans to the batter for a crunchy texture that complements the fudgy brownies.
- Gluten-Free Option: Substitute all-purpose flour with a gluten-free flour blend to make these brownies suitable for gluten-sensitive friends.
- Minty Twist: Incorporate mint extract into the wet ingredients for a refreshing flavor that pairs beautifully with chocolate.
- Vegan Version: Replace eggs with flaxseed meal mixed with water and use a plant-based butter alternative for a vegan-friendly treat.
- Spicy Kick: Add a pinch of cayenne pepper or chili powder to the batter for a surprising heat that contrasts with the sweetness.
Serving Suggestions
- Pair your Spooky Eyeball Brownies with a scoop of vanilla ice cream for a delightful contrast.
- Serve with a glass of cold milk or a warm cup of hot chocolate to enhance the chocolatey goodness.
- For a festive touch, arrange brownies on a spooky-themed platter with Halloween decorations.
- Consider adding a sprinkle of powdered sugar for a ghostly effect before serving.
FAQs about Spooky Eyeball Brownies
Can I make these Spooky Eyeball Brownies ahead of time?
Absolutely! You can bake the brownies a day in advance. Just store them in an airtight container at room temperature. Decorate them on the day of your event for the best presentation.
What can I use instead of gummy eyeballs for decoration?
If gummy eyeballs aren’t your thing, try using chocolate-covered almonds or even candy corn for a fun twist. The goal is to create a spooky look that everyone will enjoy!
How do I store leftover brownies?
Store any leftover Spooky Eyeball Brownies in an airtight container. They’ll stay fresh for up to three days. Just be sure to keep them away from direct sunlight to maintain their deliciousness!
Can I freeze these brownies?
Yes, you can freeze the brownies! Wrap them tightly in plastic wrap and then place them in a freezer-safe bag. They’ll keep well for up to three months. Just thaw them in the fridge before serving.
What’s the best way to cut brownies for serving?
For clean cuts, use a sharp knife and wipe it with a damp cloth between cuts. This helps prevent the brownies from sticking to the knife, giving you those perfect, spooky squares!
Final Thoughts
Making Spooky Eyeball Brownies is more than just baking; it’s about creating memories and sharing joy with loved ones. The laughter and excitement that come from decorating these creepy treats are priceless. Whether you’re hosting a Halloween party or just looking to add a little fun to your week, these brownies are sure to delight. Plus, the rich chocolate flavor paired with the playful decorations makes them a hit with both kids and adults. So, roll up your sleeves, gather your family, and let’s make some spooky magic in the kitchen!
Print
Spooky Eyeball Brownies That Will Thrill Your Guests!
- Prep Time: 20 minutes
- Cook Time: 30 minutes
- Total Time: 50 minutes
- Yield: 12 servings 1x
- Category: Dessert
- Method: Baking
- Cuisine: American
- Diet: Vegetarian
Description
Deliciously spooky brownies topped with creepy eyeball decorations, perfect for Halloween parties.
Ingredients
- 1 cup unsalted butter
- 2 cups granulated sugar
- 4 large eggs
- 1 teaspoon vanilla extract
- 1 cup all-purpose flour
- 1 cup cocoa powder
- 1/2 teaspoon salt
- 1/2 teaspoon baking powder
- 1 cup white chocolate chips
- Red food coloring
- Chocolate syrup
- Gummy eyeballs (for decoration)
Instructions
- Preheat your oven to 350°F (175°C) and grease a 9×13 inch baking pan.
- In a large bowl, melt the butter and mix in the sugar until well combined.
- Add the eggs one at a time, mixing well after each addition, then stir in the vanilla extract.
- In another bowl, whisk together the flour, cocoa powder, salt, and baking powder.
- Gradually add the dry ingredients to the wet ingredients, mixing until just combined.
- Fold in the white chocolate chips.
- Pour the batter into the prepared baking pan and spread evenly.
- Bake for 25-30 minutes or until a toothpick inserted in the center comes out clean.
- Let the brownies cool completely before decorating.
- To decorate, use red food coloring to create veins on the brownies, then place gummy eyeballs on top and drizzle with chocolate syrup.
Notes
- For a more intense chocolate flavor, use dark cocoa powder.
- Store leftovers in an airtight container for up to 3 days.
- Feel free to use different types of candy for decoration.
Nutrition
- Serving Size: 1 brownie
- Calories: 250
- Sugar: 20g
- Sodium: 150mg
- Fat: 12g
- Saturated Fat: 7g
- Unsaturated Fat: 3g
- Trans Fat: 0g
- Carbohydrates: 35g
- Fiber: 2g
- Protein: 3g
- Cholesterol: 50mg