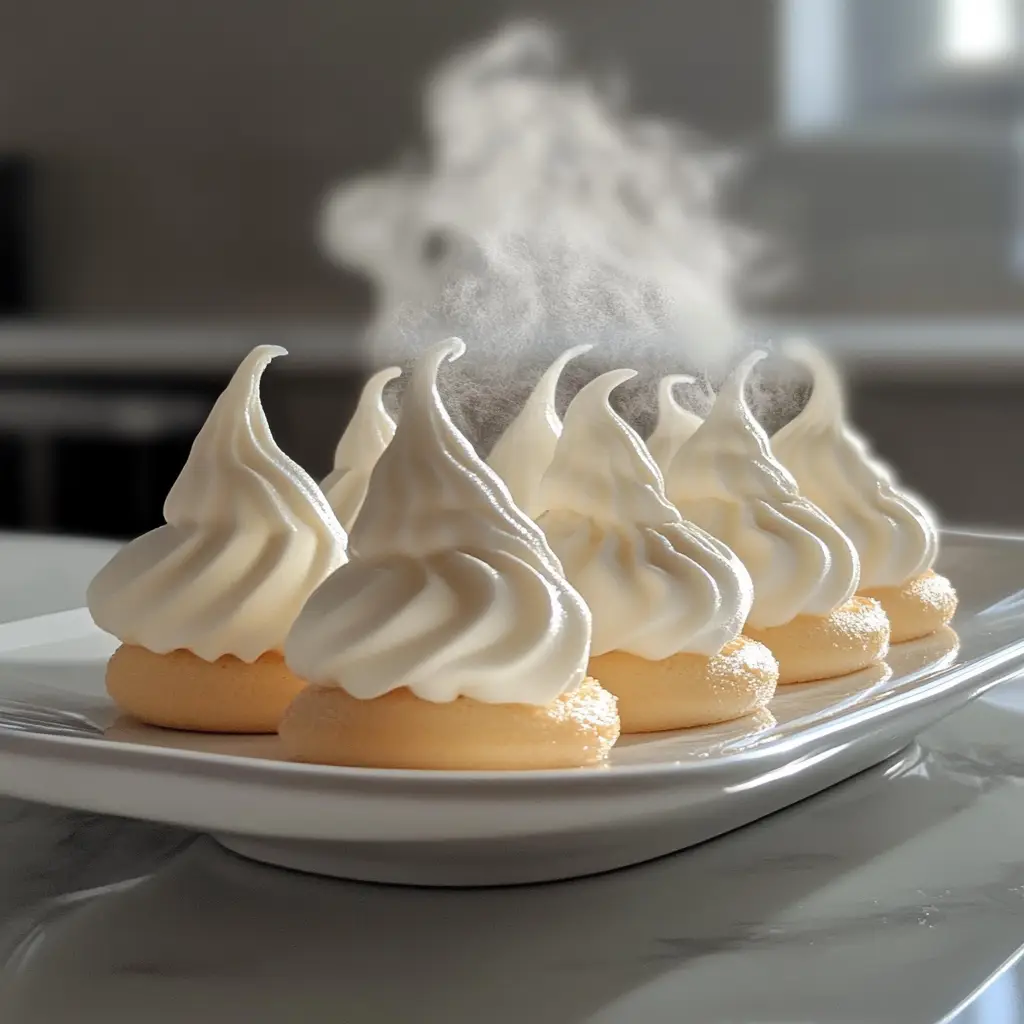
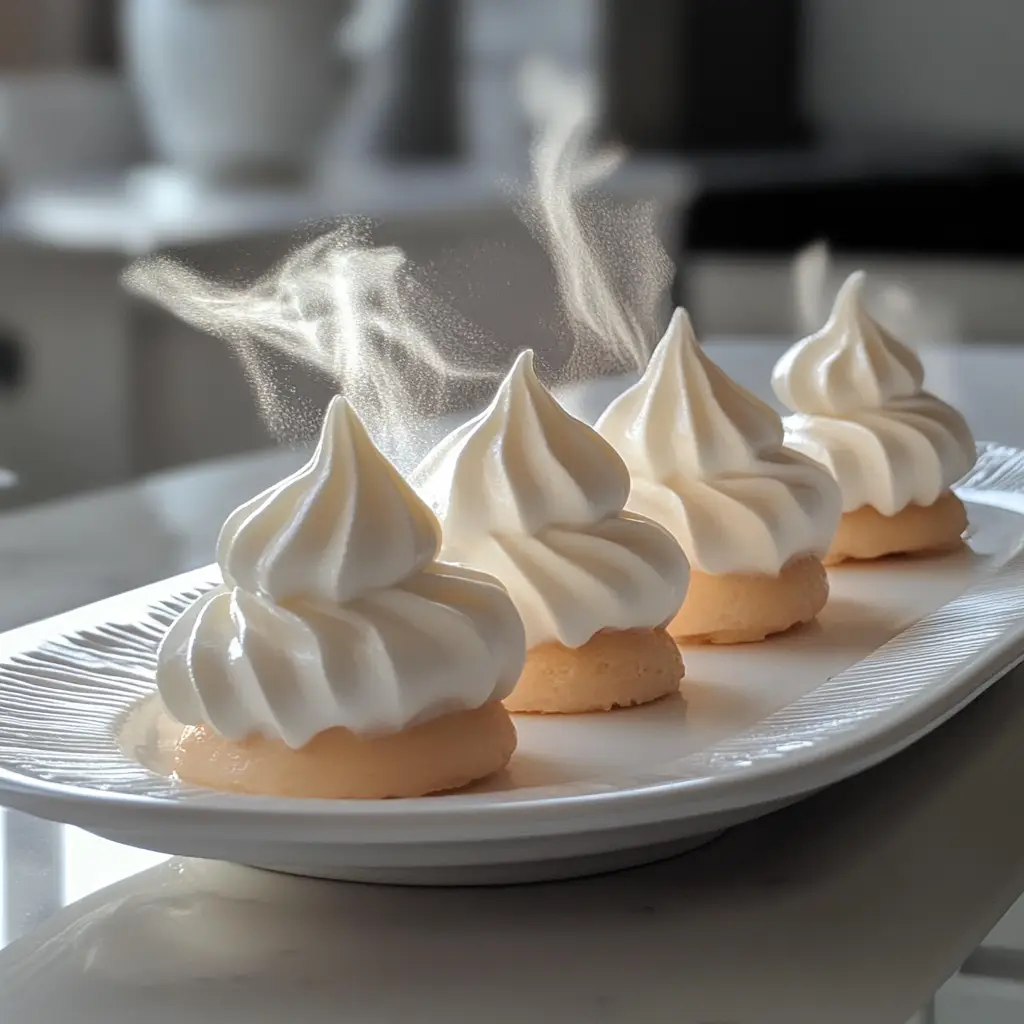
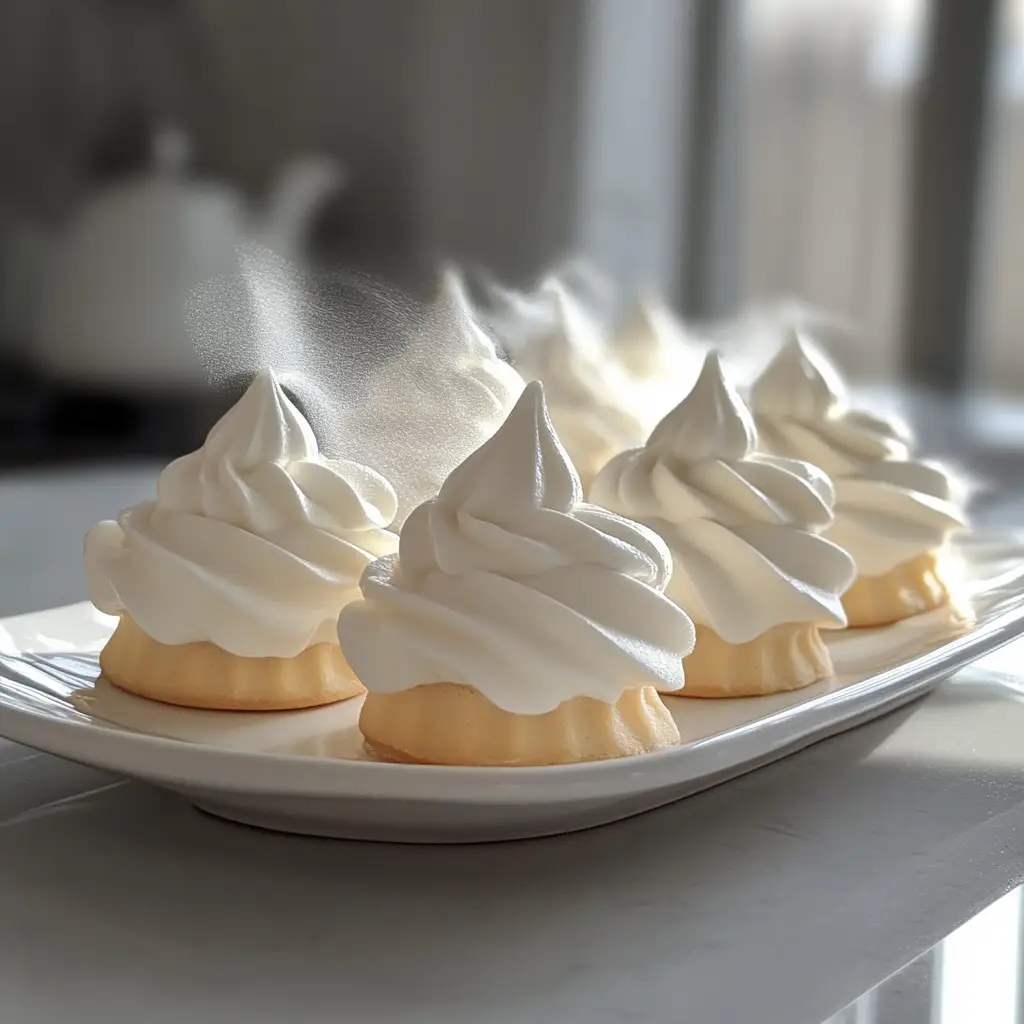
Introduction to Meringue Ghost Kisses
As the leaves turn and the air gets crisp, I find myself craving something sweet yet whimsical. Enter Meringue Ghost Kisses! These delightful little treats are not just perfect for Halloween; they’re a fun way to bring a smile to anyone’s face. If you’re a busy mom or professional like me, you’ll appreciate how quick and easy these meringues are to whip up. With just a handful of ingredients, you can create a spooky dessert that’s light, airy, and utterly charming. Trust me, your loved ones will be enchanted by these ghostly delights!
Why You’ll Love This Meringue Ghost Kisses
Meringue Ghost Kisses are not just adorable; they’re incredibly easy to make! With minimal ingredients and a straightforward process, you can whip these up in no time. Plus, they’re a hit with kids and adults alike, making them perfect for any gathering. The light, airy texture melts in your mouth, leaving a sweet taste that lingers. Trust me, once you try these, they’ll become a go-to treat for every spooky occasion!
Ingredients for Meringue Ghost Kisses
Creating Meringue Ghost Kisses is a breeze with just a few simple ingredients. Here’s what you’ll need:
- Egg Whites: The star of the show! They provide the structure and airy texture that makes these meringues so delightful. Make sure no yolk sneaks in, as it can ruin the fluffiness.
- Granulated Sugar: This sweetener is essential for achieving that perfect crisp exterior. It also helps stabilize the meringue, giving it that lovely shine.
- Cream of Tartar: A little pinch goes a long way! This ingredient acts as a stabilizer, ensuring your egg whites hold their shape and don’t collapse.
- Vanilla Extract: A splash of this adds a warm, comforting flavor that complements the sweetness beautifully. You can also experiment with other extracts like almond for a twist!
- Chocolate Chips: These are for the ghostly eyes! Use mini chocolate chips for a cute touch, or get creative with colored candy melts for a fun variation.
For exact measurements, check the bottom of the article where you can find everything listed for easy printing. Happy baking!
How to Make Meringue Ghost Kisses
Making Meringue Ghost Kisses is a delightful adventure! Follow these simple steps, and you’ll have a spooky treat that’s sure to impress. Let’s dive in!
Step 1: Preheat the Oven
First things first, preheat your oven to 200°F (93°C). This low temperature is crucial for drying out the meringues, giving them that perfect crisp texture. While the oven warms up, line a baking sheet with parchment paper. This will prevent sticking and make cleanup a breeze!
Step 2: Beat the Egg Whites
In a clean bowl, beat the egg whites until they become foamy. This is where the magic begins! You want to achieve soft peaks, which means the mixture should hold a shape but still be a bit wobbly. It’s like creating a cloud—light and fluffy!
Step 3: Add Cream of Tartar
Now, add the cream of tartar. This little ingredient is a game-changer! It stabilizes the egg whites, helping them maintain their structure. Just a pinch will do, and it makes all the difference in keeping your meringues from collapsing.
Step 4: Incorporate Sugar
Next, gradually add the granulated sugar, one tablespoon at a time. This slow addition is key to achieving that glossy, stiff peak texture. Keep beating until the mixture is shiny and holds firm peaks. It should look like a beautiful, sweet cloud!
Step 5: Mix in Vanilla Extract
Once your meringue is ready, gently mix in the vanilla extract. This adds a lovely flavor that complements the sweetness. You can even switch it up with almond extract for a unique twist. Just a splash will elevate your meringue game!
Step 6: Pipe the Ghost Shapes
Using a piping bag, pipe small ghost shapes onto your prepared baking sheet. Don’t worry about perfection; these ghosts are meant to be whimsical! If you don’t have a piping bag, a plastic sandwich bag with a corner snipped off works just as well.
Step 7: Add Chocolate Chip Eyes
Now for the fun part—adding the chocolate chip eyes! Place two mini chocolate chips on each ghost to give them personality. You can even use colored candy melts for a festive touch. Get creative; the spookier, the better!
Step 8: Bake the Meringues
It’s time to bake! Place the baking sheet in the oven and let the meringues bake for 1.5 to 2 hours. They should be dry and crisp when done. You’ll know they’re ready when they easily lift off the parchment paper. Patience is key here!
Step 9: Cool the Meringues
After baking, turn off the oven and let the meringues cool inside for an hour. This step is essential for achieving that perfect crunch. Cooling them slowly helps prevent cracks and keeps them light and airy. Trust me, it’s worth the wait!
Tips for Success
- Make sure your mixing bowl and beaters are completely clean and dry. Any grease can prevent the egg whites from whipping properly.
- Use room temperature egg whites for better volume. They whip up fluffier than cold ones!
- Don’t rush the sugar addition; it’s crucial for achieving that glossy finish.
- Store your meringue ghosts in an airtight container to keep them crisp and fresh.
- Feel free to experiment with different flavors or colors for a fun twist!
Equipment Needed
- Mixing Bowl: A glass or metal bowl works best for whipping egg whites.
- Electric Mixer: A hand mixer is perfect, but a stand mixer can save time.
- Piping Bag: If you don’t have one, a plastic sandwich bag with a snipped corner will do.
- Baking Sheet: Use a standard baking sheet lined with parchment paper for easy cleanup.
Variations of Meringue Ghost Kisses
- Chocolate Meringue Ghosts: Add cocoa powder to the egg whites for a chocolatey twist. These will be a hit with chocolate lovers!
- Colored Meringue Ghosts: Use food coloring to tint your meringue. Pastel shades can create a fun, festive look for any occasion.
- Spiced Meringue Ghosts: Incorporate a pinch of cinnamon or nutmeg for a warm, autumnal flavor that pairs perfectly with the season.
- Nut-Free Version: Ensure that all ingredients are nut-free, especially if you’re serving kids or guests with allergies.
- Vegan Option: Substitute egg whites with aquafaba (the liquid from canned chickpeas) for a plant-based version that’s just as delightful!
Serving Suggestions for Meringue Ghost Kisses
- Hot Cocoa: Pair these ghostly treats with a warm cup of hot cocoa for a cozy Halloween vibe.
- Spooky Platter: Arrange Meringue Ghost Kisses on a black platter with fake spider webs for a festive presentation.
- Ice Cream: Serve alongside vanilla or pumpkin ice cream for a delightful contrast in textures.
- Party Favors: Package them in clear bags tied with orange ribbons for a sweet Halloween gift.
FAQs about Meringue Ghost Kisses
Can I make Meringue Ghost Kisses ahead of time?
Absolutely! These delightful treats can be made a day or two in advance. Just store them in an airtight container to keep them crisp and fresh.
What can I use instead of cream of tartar?
If you don’t have cream of tartar, you can substitute it with an equal amount of lemon juice or white vinegar. Both will help stabilize the egg whites.
How do I know when the meringues are done baking?
Your Meringue Ghost Kisses are ready when they easily lift off the parchment paper and feel dry to the touch. They should be crisp and not sticky.
Can I add food coloring to the meringue?
Yes! Feel free to add a few drops of food coloring to create colorful Meringue Ghost Kisses. Just be careful not to add too much liquid, as it can affect the texture.
What should I do if my meringue is too runny?
If your meringue is runny, it may be due to grease in the bowl or under-whipping the egg whites. Make sure your bowl is clean and dry, and whip until stiff peaks form.
Final Thoughts
Making Meringue Ghost Kisses is more than just baking; it’s about creating sweet memories with your loved ones. The joy of piping those little ghostly shapes and adding chocolate chip eyes brings out the child in all of us. These treats are not only a delightful addition to any Halloween celebration but also a reminder that simple ingredients can create magic in the kitchen. So, gather your family, share some laughs, and enjoy the process. Trust me, the smiles on their faces when they see these spooky delights will be worth every minute spent in the kitchen!
Print
Meringue Ghost Kisses: A Spooky Sweet Delight!
- Prep Time: 15 minutes
- Cook Time: 2 hours
- Total Time: 2 hours 15 minutes
- Yield: 24 meringue ghosts 1x
- Category: Dessert
- Method: Baking
- Cuisine: American
- Diet: Vegetarian
Description
Meringue Ghost Kisses are delightful, light, and airy treats shaped like little ghosts, perfect for Halloween or any spooky occasion.
Ingredients
- 2 large egg whites
- 1/2 cup granulated sugar
- 1/4 teaspoon cream of tartar
- 1/2 teaspoon vanilla extract
- Chocolate chips (for eyes)
Instructions
- Preheat your oven to 200°F (93°C) and line a baking sheet with parchment paper.
- In a clean bowl, beat the egg whites until foamy.
- Add the cream of tartar and continue to beat until soft peaks form.
- Gradually add the sugar, one tablespoon at a time, while beating until stiff peaks form.
- Mix in the vanilla extract.
- Using a piping bag, pipe small ghost shapes onto the prepared baking sheet.
- Place chocolate chips on each ghost for eyes.
- Bake for 1.5 to 2 hours until the meringues are dry and crisp.
- Turn off the oven and let the meringues cool inside for an hour.
Notes
- Ensure no yolk gets into the egg whites for best results.
- Store in an airtight container to keep them crisp.
- Feel free to add food coloring for a fun twist.
Nutrition
- Serving Size: 1 meringue ghost
- Calories: 25
- Sugar: 6g
- Sodium: 1mg
- Fat: 0g
- Saturated Fat: 0g
- Unsaturated Fat: 0g
- Trans Fat: 0g
- Carbohydrates: 6g
- Fiber: 0g
- Protein: 0g
- Cholesterol: 0mg