Introduction to Halloween Sprinkle Munchkins
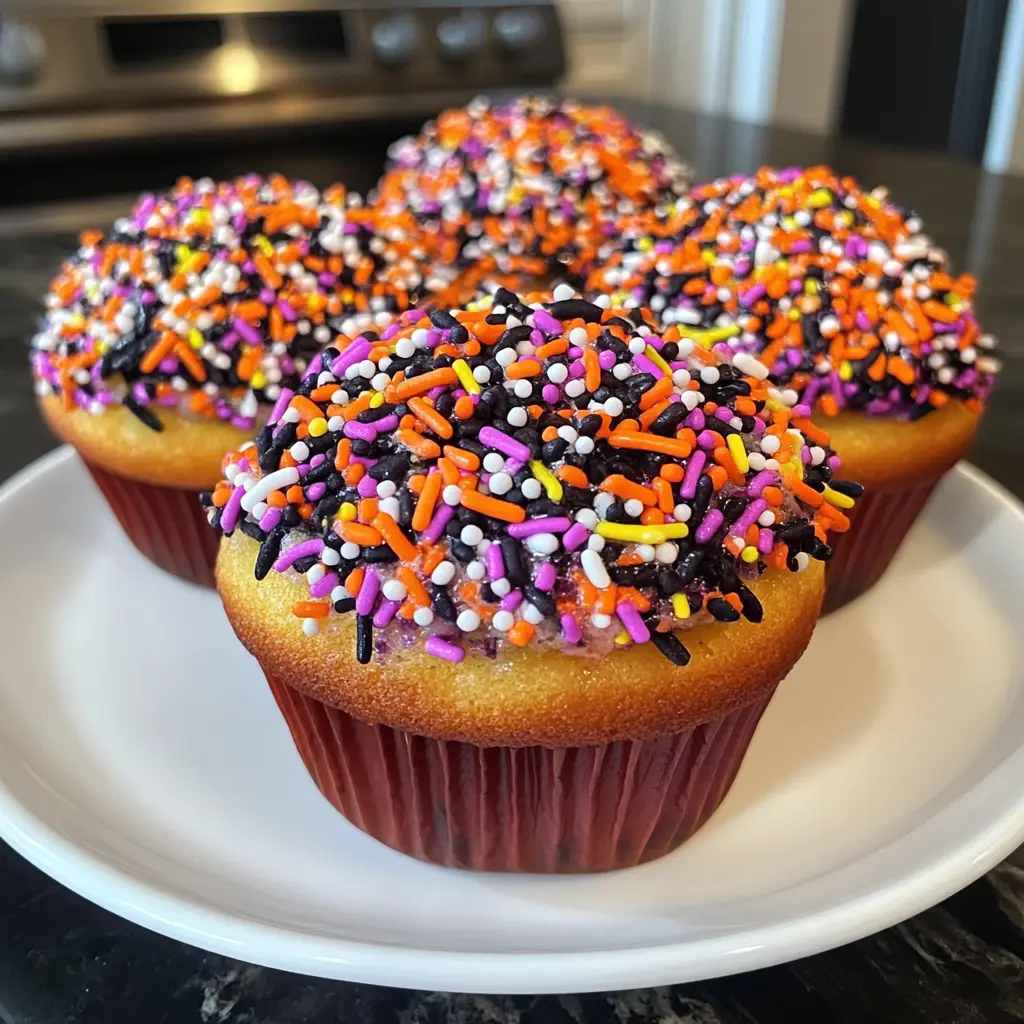
As the leaves turn and the air gets crisp, I find myself dreaming of Halloween treats. One of my absolute favorites is Halloween Sprinkle Munchkins. These delightful mini donuts are not just a feast for the eyes; they’re a quick solution for busy days filled with school events and family gatherings. With their colorful sprinkles, they bring a festive spirit to any occasion. Plus, they’re so easy to whip up that even the most hectic schedules can accommodate them. Trust me, your loved ones will be begging for seconds!
Why You’ll Love This Halloween Sprinkle Munchkins
These Halloween Sprinkle Munchkins are a game-changer for busy moms and professionals alike. They come together in just 25 minutes, making them perfect for last-minute gatherings or school parties. The taste? Oh, it’s a delightful blend of sweetness and nostalgia, reminiscent of childhood treats. Plus, the vibrant sprinkles add a fun twist that will make your kids smile. Who knew something so simple could bring so much joy?
Ingredients for Halloween Sprinkle Munchkins
Gathering the right ingredients is the first step to creating these delightful Halloween Sprinkle Munchkins. Here’s what you’ll need:
- All-purpose flour: The backbone of our munchkins, providing structure and a soft texture.
- Granulated sugar: This sweetener adds just the right amount of sweetness to balance the flavors.
- Baking powder: A leavening agent that helps our donuts rise and become fluffy.
- Baking soda: Works alongside baking powder to ensure a light and airy texture.
- Salt: A pinch enhances the sweetness and balances the flavors beautifully.
- Buttermilk: This adds moisture and a slight tang, making the donuts tender and delicious.
- Unsalted butter: Melted butter brings richness and flavor, making each bite heavenly.
- Large egg: Acts as a binder, helping to hold everything together while adding moisture.
- Vanilla extract: A splash of this aromatic ingredient elevates the flavor profile to new heights.
- Halloween-themed sprinkles: The star of the show! These colorful sprinkles add a festive touch and a fun crunch.
For those looking to customize, feel free to swap in whole wheat flour for a healthier twist or use dairy-free alternatives for a vegan version. You can find all the exact measurements at the bottom of the article, ready for printing!
How to Make Halloween Sprinkle Munchkins
Making Halloween Sprinkle Munchkins is a delightful adventure that’s as easy as pie—well, mini donuts, actually! Follow these simple steps, and you’ll have a batch of festive treats ready in no time.
Step 1: Preheat and Prepare
First things first, preheat your oven to 350°F (175°C). This ensures your munchkins bake evenly. While the oven warms up, grease your mini donut pan with a little cooking spray or melted butter. This will help your donuts pop out easily once they’re baked.
Step 2: Mix Dry Ingredients
In a mixing bowl, combine the all-purpose flour, granulated sugar, baking powder, baking soda, and salt. Whisk them together until they’re well blended. This step is crucial because it ensures that the leavening agents are evenly distributed, giving your munchkins that perfect rise.
Step 3: Combine Wet Ingredients
In another bowl, whisk together the buttermilk, melted butter, egg, and vanilla extract. Make sure everything is well combined. The buttermilk adds moisture, while the melted butter brings richness. This mixture is the heart of your munchkins!
Step 4: Combine Wet and Dry Mixtures
Now, pour the wet ingredients into the dry ingredients. Gently mix them together until just combined. Be careful not to overmix; a few lumps are perfectly fine. Overmixing can lead to tough donuts, and we want them soft and fluffy!
Step 5: Add the Fun
Here comes the best part! Gently fold in the Halloween-themed sprinkles. This is where the magic happens. The sprinkles not only add color but also a fun crunch that kids (and adults!) will love. Just be gentle; we don’t want to break the sprinkles!
Step 6: Fill the Pan
Using a spoon or a piping bag, fill each donut cavity about two-thirds full with the batter. This allows room for the donuts to rise without overflowing. If you’re feeling adventurous, you can even add a few extra sprinkles on top of the batter before baking!
Step 7: Bake to Perfection
Pop the pan into the preheated oven and bake for 8-10 minutes. Keep an eye on them! You’ll know they’re done when a toothpick inserted into the center comes out clean. The aroma wafting through your kitchen will be irresistible!
Step 8: Cool and Decorate
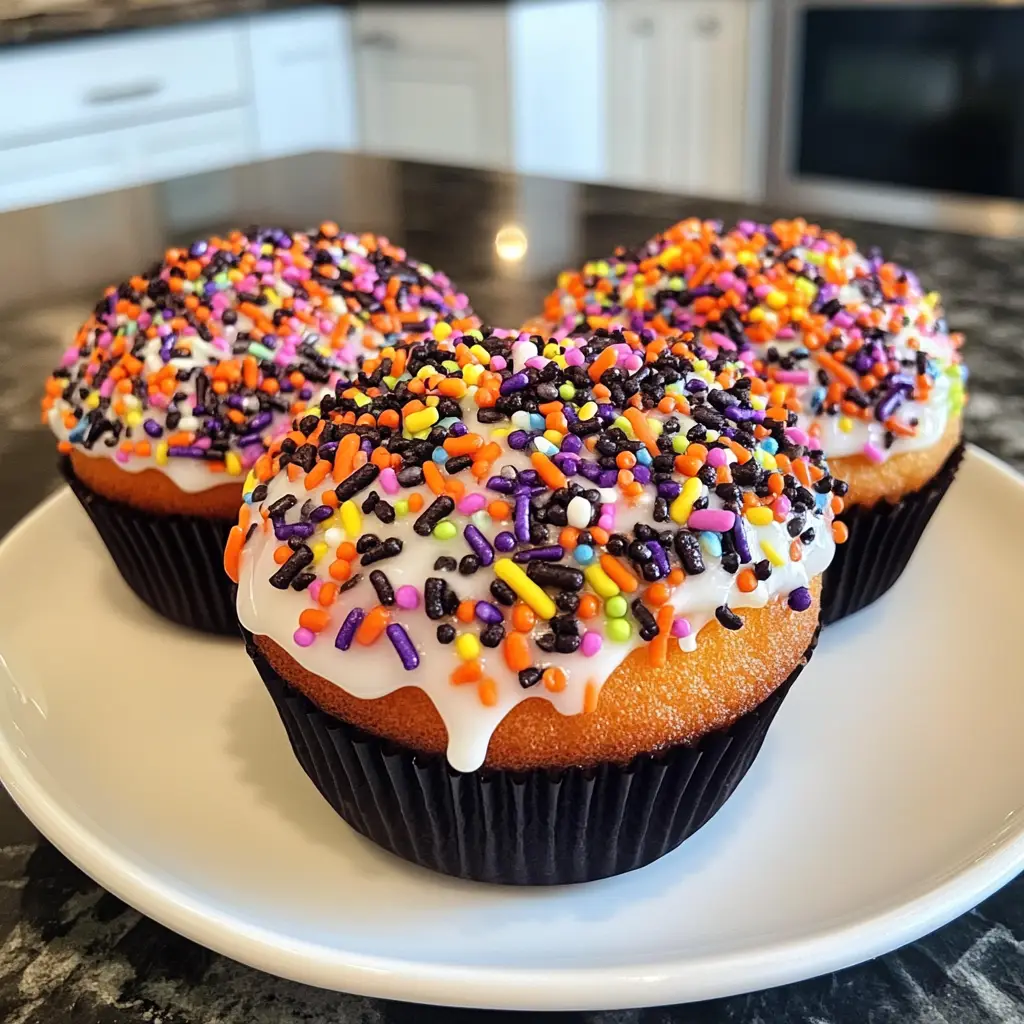
Once baked, let the donuts cool in the pan for a few minutes before transferring them to a wire rack. This helps them firm up. After they’ve cooled completely, dip the tops in melted chocolate and sprinkle with more Halloween sprinkles if desired. This final touch makes them even more festive!
Tips for Success
- Always preheat your oven for even baking.
- Don’t overmix the batter; a few lumps are okay!
- Use a piping bag for mess-free filling of the donut pan.
- Experiment with different sprinkles for unique looks.
- Let the donuts cool completely before dipping in chocolate.
- Store leftovers in an airtight container to keep them fresh.

Equipment Needed
- Mini donut pan: Essential for shaping your munchkins. If you don’t have one, a muffin tin works in a pinch!
- Mixing bowls: A couple of medium-sized bowls will do the trick.
- Whisk: Perfect for combining ingredients smoothly. A fork can work too!
- Measuring cups and spoons: Accurate measurements are key for baking success.
- Cooling rack: Helps your donuts cool evenly. A plate can substitute if needed.
Variations
- Chocolate Munchkins: Add cocoa powder to the dry ingredients for a rich chocolate flavor.
- Gluten-Free Option: Substitute all-purpose flour with a gluten-free blend for a delicious alternative.
- Vegan Munchkins: Use almond milk instead of buttermilk and replace the egg with a flaxseed egg.
- Spiced Munchkins: Add a teaspoon of cinnamon or nutmeg to the dry ingredients for a warm, cozy flavor.
- Fruit-Infused: Fold in mini chocolate chips or dried fruit for an extra burst of flavor.
Serving Suggestions
- Pair your Halloween Sprinkle Munchkins with a warm cup of apple cider for a cozy treat.
- Serve them on a festive platter, garnished with autumn leaves or mini pumpkins for a seasonal touch.
- For a fun twist, create a donut bar with various toppings like chocolate drizzle and whipped cream.
- These munchkins also make a delightful addition to a Halloween-themed dessert table.
FAQs about Halloween Sprinkle Munchkins
Can I make Halloween Sprinkle Munchkins ahead of time?
Absolutely! You can prepare these munchkins a day in advance. Just store them in an airtight container. They’ll stay fresh and delicious, ready for your Halloween gathering!
What can I use instead of buttermilk?
If you don’t have buttermilk on hand, you can easily make a substitute. Just mix one cup of milk with a tablespoon of vinegar or lemon juice. Let it sit for about 5 minutes, and you’re good to go!
How do I store leftover munchkins?
To keep your Halloween Sprinkle Munchkins fresh, store them in an airtight container at room temperature. They’ll stay tasty for up to three days. If you want to keep them longer, consider freezing them!
Can I use different sprinkles?
Of course! Feel free to get creative with your sprinkles. Whether you choose Halloween-themed sprinkles or your favorite colors, they’ll add a fun touch to your munchkins.
What’s the best way to decorate my munchkins?
Dipping the tops in melted chocolate and adding extra sprinkles is a classic choice. You can also drizzle icing or even sprinkle powdered sugar for a festive look. Let your imagination run wild!
Final Thoughts
Creating Halloween Sprinkle Munchkins is more than just baking; it’s about making memories. The joy on my kids’ faces as they dive into these colorful treats is priceless. Each bite is a reminder of the fun and laughter that comes with the Halloween season. Plus, the ease of whipping them up means I can spend more time enjoying the festivities with my family. Whether you’re hosting a party or just looking for a sweet treat, these munchkins are sure to bring smiles all around. So, roll up your sleeves and let the spooky fun begin!
Print
Halloween Sprinkle Munchkins: A Spooky Treat Delight!
- Prep Time: 15 minutes
- Cook Time: 10 minutes
- Total Time: 25 minutes
- Yield: 24 mini donuts 1x
- Category: Dessert
- Method: Baking
- Cuisine: American
- Diet: Vegetarian
Description
Halloween Sprinkle Munchkins are delightful bite-sized treats perfect for celebrating the spooky season. These mini donuts are coated in colorful sprinkles, making them a fun and festive addition to any Halloween gathering.
Ingredients
- 1 cup all-purpose flour
- 1/2 cup granulated sugar
- 1/2 teaspoon baking powder
- 1/4 teaspoon baking soda
- 1/4 teaspoon salt
- 1/2 cup buttermilk
- 1/4 cup unsalted butter, melted
- 1 large egg
- 1 teaspoon vanilla extract
- 1 cup Halloween-themed sprinkles
Instructions
- Preheat the oven to 350°F (175°C) and grease a mini donut pan.
- In a mixing bowl, combine flour, sugar, baking powder, baking soda, and salt.
- In another bowl, whisk together buttermilk, melted butter, egg, and vanilla extract.
- Pour the wet ingredients into the dry ingredients and mix until just combined.
- Fold in the Halloween-themed sprinkles gently.
- Fill each donut cavity about 2/3 full with the batter.
- Bake for 8-10 minutes or until a toothpick comes out clean.
- Let the donuts cool for a few minutes before transferring them to a wire rack.
- Once cooled, dip the tops in melted chocolate and sprinkle with additional Halloween sprinkles if desired.
Notes
- Store in an airtight container for up to 3 days.
- Feel free to customize the sprinkles based on your Halloween theme.
- These can be made ahead of time and frozen for later use.
Nutrition
- Serving Size: 2 donuts
- Calories: 150
- Sugar: 10g
- Sodium: 100mg
- Fat: 6g
- Saturated Fat: 3g
- Unsaturated Fat: 2g
- Trans Fat: 0g
- Carbohydrates: 22g
- Fiber: 1g
- Protein: 2g
- Cholesterol: 20mg